Skip to product information
1 of 3

Swiss Chard Seeds, Bright Lights

Beta vulgaris
Regular price $2.99
Regular price Sale price $2.99
Sale Sold out
Shipping calculated at checkout.
Earn 3 points for this item with our
rewards program.
Product Information Chevron Down Chevron Forward

Bright Lights Swiss Chard produces a brilliant rainbow of color! Plant stems are multi-colored, offering a milder chard flavor as well as a valued ornamental plant. Delicious in salads, quiche or steamed with butter.

  • SKU: 101654
Growing Information Chevron Down Chevron Forward
Grow best in
Grows
Best In:
Full Sun|Partial Sun
Days to germination
Days to
Germination:
7 to 10 days
Water needs
Water
Needs:
Average 2.5-5 cm (1-2") per week
Days to maturity
Days to
Maturity:
60 days
Best container size
Best
Container Size:
12"+
Key Features Chevron Down Chevron Forward
  • Plant Type: Vegetable
  • Botanical Name: Beta vulgaris
  • Fill Weight (grams): 1
  • Approximate Seed Count: 40-50
  • Characteristics: frost-sensitive
  • Planting Method: Sow Direct
  • Plant Lifecycle: Annual
  • Seed Type: Open Pollinated
  • Water Needs: Average 2.5-5 cm (1-2") per week
  • Flavor: Taste is similar to beet greens and spinach
  • Disease Resistance: bolt resistant
  • Preparation Ideas: Rinse and clean leaves in water. Shake leaves to remove water. Let leaves dry on kitchen towel or paper towelling. Heat olive oil in frying pan. Add sliced or chopped garlic and cook garlic until tender and fragrant. Tear or cut swiss chard leaves into pieces. You can cut out and remove the stalks from the leaves if they are thick or your can chop the stalks into 1" pieces and pre sautee in the olive oil/garlic mixture. Fry stalks until tender (approximately 5 minutes). Lower heat add leaf pieces and fry leaves for approximately 5 minutes or until desired doneness. Stir constantly and serve immediately.
Instructions Chevron Down Chevron Forward
    Growing Instructions:

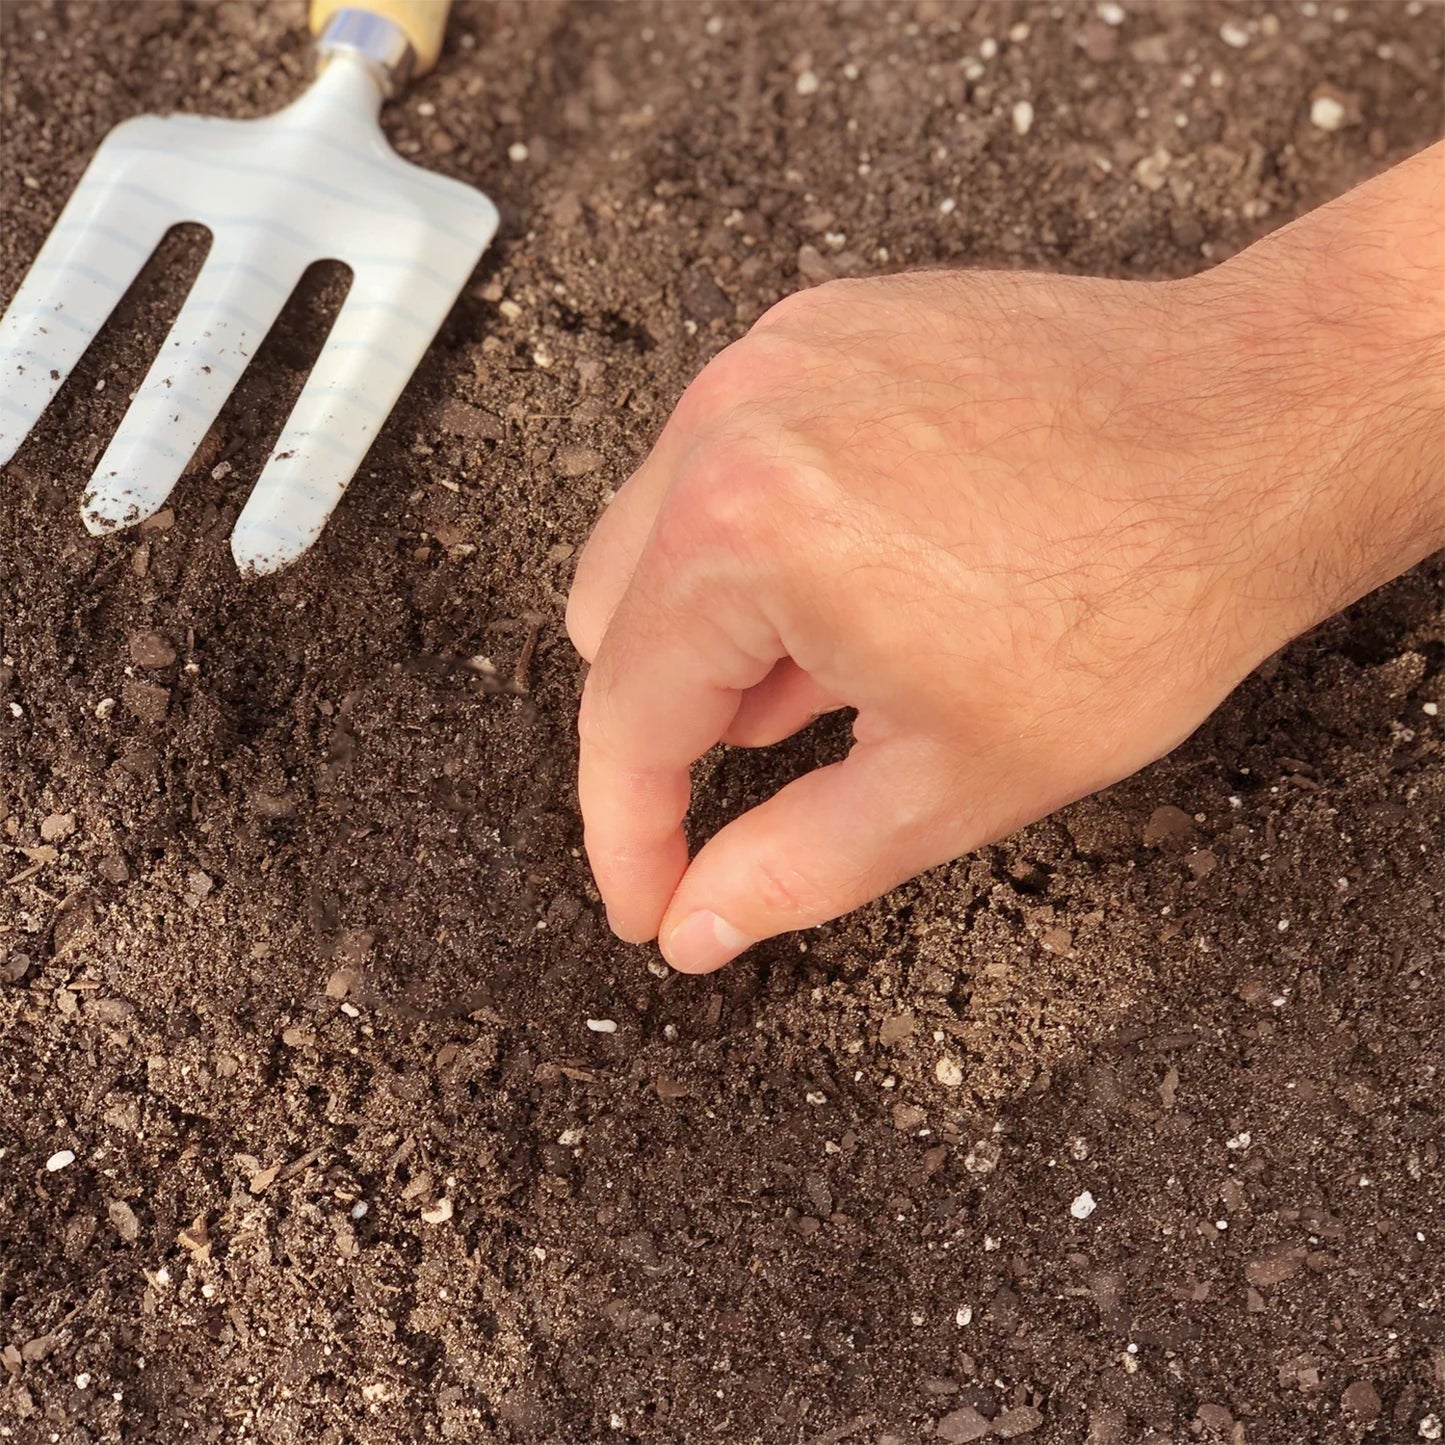
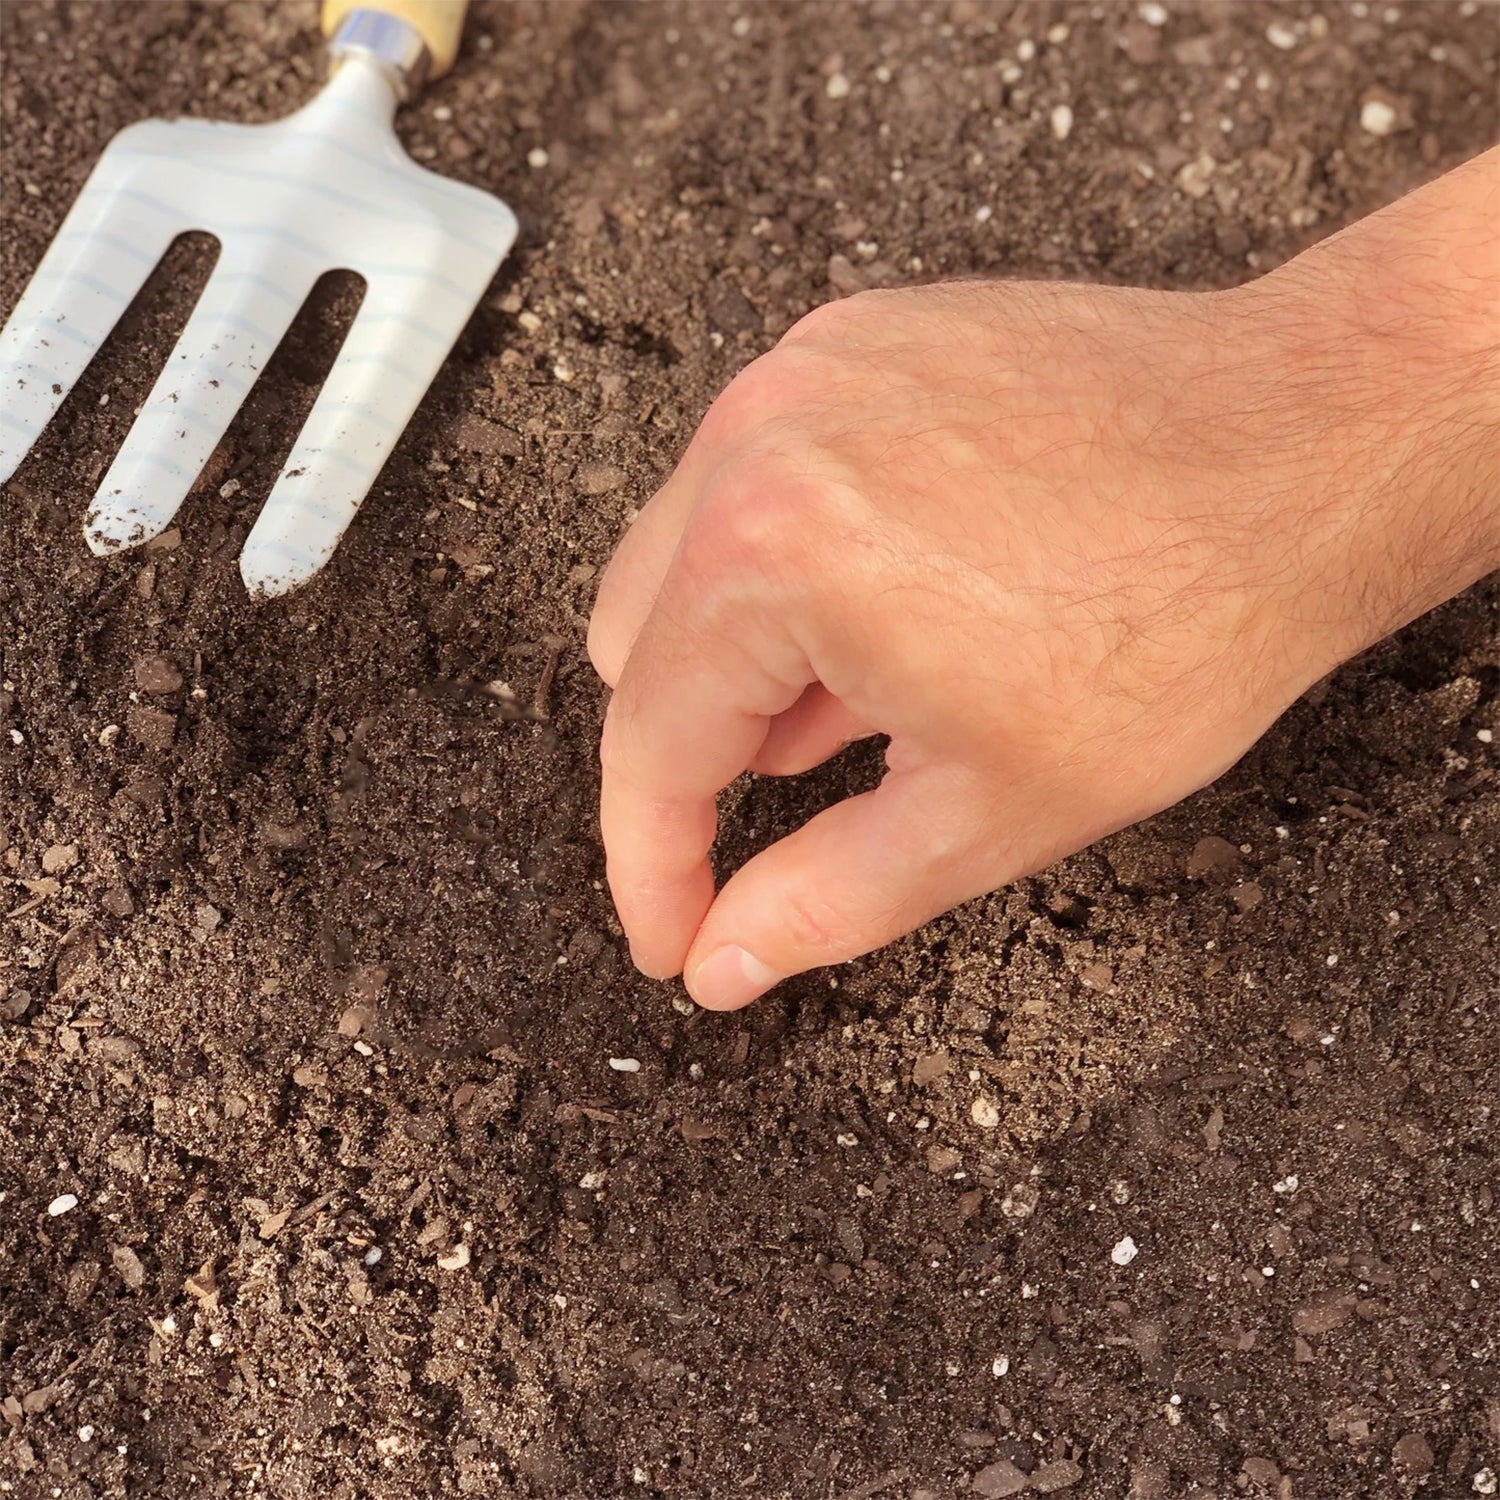
    Swiss chard should be sown directly into the garden when the soil is warm and all danger of frost is past. To speed up germination, soak seeds overnight in room temperature water before planting. Soil temperature (not air temperature) should be between 13-24°C (55-75°F) . Space seeds and plant to the depth indicated below. Press seeds into the soil to ensure good contact and cover with 1.3 cm (1/2") of soil. After planting, water seeds with a gentle mist or shower. It is critical to keep the soil consistently moist, but not soggy during germination. When your seedlings reach a height of a few centimetres (inches) and have developed 2 or 3 pairs of leaves, it is important to thin them out, according to the plant spacing indicated below. Thinnings can be used as fresh greens. Do not allow the soil to become dry, as young plants have underdeveloped roots and can quickly dehydrate, particularly in windy conditions. Swiss chard grows quickly and more seeds can be succession planted every 10 days for 4 weeks for a continuous supply of fresh chard.

    Click here to read more information on planning and planting a garden.

  • Planting Depth: 1.3 cm (1/2")
  • Plant Spacing: 25 cm (10")
  • Row Spacing: 45 cm (18")

  • Instructions for Nutrient Care: Feed plants SUPERthrive once per week. Mix 1.2 ml (1/4 tsp) per 4L (1 gallon) of water in a watering can and apply solution to the base of the plants.
Suggestions Chevron Down Chevron Forward
Growing Suggestions:
  • Swiss chard is a member of the beet family and grows well both in cool and warm weather.
  • Both the leaves and stems can be eaten cooked or raw.
  • Water regularly to promote plenty of fresh leafy growth and to stop the plants from bolting. Bolting is when plants stop vegetative growth and start flowering, marking the end of the harvest.
  • When plants are about 30 cm (12") tall, cut leaves back to 7-12 cm (3 -5") to encourage new tender growth. If chard plants become overgrown, they become less flavorful.
  • Depending on the size of leaves you want, harvest can take place when plants are 15-20 cm (6-8") tall. Chard can be harvested as a 'cut and come again' crop. Cut off older outer leaves 4 cm (1-1/2") above the ground with a sharp knife. Avoid damaging the plant’s center and the young leaves will continue to grow.

You may also like

Join our rewards program today to start saving!

Free Shipping on orders over $50

Asset 355.png__PID:07356088-e6e3-4be4-8b7a-eead460f7bf5

There are a ton of ways to earn!

Redeem points for BIG savings!